Country Chicks Baking. Powered by Blogger.
Showing posts with label Red Velvet. Show all posts

Wednesday, February 27, 2013

Cream Cheese Swirled Red Velvet Cookies

I have been struggling to get this post done for quite some time!! So sorry for the delay... I had made these cookies last week and taken pictures and wanted to have everything setup before I took off to Essex, Montana with my husband and his parents. After returning from Montana, all my motivation and time was gone so I wasn't able to sit down and get this post finished!

These cookies were pretty 'cakey' for my liking, but my dear husband took them to work on Valentine's Day and they were gobbled up (literally)! They were very simple to make, and had a gorgeous color!


Ingredients:

  • 1 box red velvet cake mix (I am sure you could make them from scratch, but I just love the redness that comes from the boxed cake mix)
  • 2 eggs
  • 2 tablespoons butter, softened
  • 2 tablespoons milk
  • 4 ounces cream cheese, softened
  1. Preheat the oven to 350°, spray a baking sheet with non-stick spray
  2. In a large bowl, combine the cake mix, eggs, butter and milk. The batter is VERY thick.
  3. Drop the cream cheese by the tablespoon into the batter and gently fold in. Don't over mix.

  1. Drop the batter by tablespoons (or eyeball it) onto the baking sheet about 2" apart.
  2. Bake for 10 minutes or until the cookies are set (it took about 11 minutes for mine)
  3. Cool for a minute or two on the baking sheet and then remove to a wire rack until it is cooled completely. 

Friday, February 22, 2013

Red Velvet Frozen Yogurt

I was racking my brain as to what to make this week. I didn't want to make anything too close to what the other Sarah was making. I've been having a craving for frozen yogurt and noticed there aren't any recipes for red velvet frozen yogurt!

I've never made frozen yogurt before so I researched around for how others made other flavors of frozen yogurt and I put together the best recipe I could think of.

Since I had no clue how my "made up" recipe would turn out I made it two different ways, figuring one would HAVE to turn out. They both did!


The first recipe is my favorite! It tastes just like red velvet cake batter!!

What you need:
3- 6 oz containers of yogurt (1 1/4 c.) I used non fat vanilla but you could explore with others
1 1/2 cups of nonfat milk
1 cup red velvet cake mix
1/4 cup sugar ( I used the equivalent of Splenda)

Mix all ingredients together well and put in the freezer! Mine was about soft serve consistency after a few hours and by morning was hard. I'm sure it would work great if you used an ice cream maker as well, but a freezer works just fine!

This next recipe tastes good still, but tastes more like just yogurt but frozen not as much like the "treat" I was expecting.

All you need is:
2 containers of red velvet yogurt
1/8 cup sugar or Splenda equivalent
1/4 cup nonfat milk

Mix together and freeze! So simple and actually a very healthy treat. I was thinking if I added some cocoa powder and a little more Splenda it might taste more "treat-like". There's always next time! Enjoy!

Thursday, February 14, 2013

Red Velvet Truffle Brownies

These delicious brownies taste just as amazing as they look! I have to apologize for the bad picture quality. I'm not sure why my camera decided to act up. By the time I could charge my old camera these were gone!

These brownies may look complex but are actually quite simple to make. I usually make my brownies from scratch, but I decided to use a box cake recipe this time.

What you'll need:
For the brownies (box cake recipe)
1 box of red velvet cake mix
1/2 cup of butter (melted)
1 box of white chocolate pudding mix
2 eggs
6- tbsp of vegetable oil


1. Preheat oven to 325
2. Mix all ingredients thoroughly but do not over mix.
3. Spray a 9"x 13" pan with cooking spray and fill pan with brownie mix.
4. Spread evenly (mix will be a thick consistency)
5. Bake for 18- 22 mins.
6. Let cool completely before adding the next layer.

Oreo layer:
1 package of Oreos
1- 8oz. package or cream cheese

1. Crush Oreos with food processor or by putting them in a ziplock and using a rolling pin or hands.
2. Warm cream cheese in microwave for about 15- 20 seconds until it is workable.
3. Mix in Oreos and carefully put on top of brownie layer. ( I ended up using my hands for this, messy, but it worked the best without tearing the brownies. Then once spread, I used a spatula to flatten.)

Chocolate layer:
1/2 lb (1/2 package) of chocolate bark (or chocolate chips)
Mini chocolate chips

1. Melt chocolate bark for 30 seconds then stir. Keep heating at 15 second intervals until melted.
2. Pour on top of Oreo layer and spread with spatula.
3. Sprinkle mini chocolate chips on top, as many as you like!!

I put my brownies into the refrigerator for about 10 mins to harden (couldn't wait to try them) or you can just set them out to harden. Cut and enjoy!! This is my favorite recipe so far!!

Tuesday, February 12, 2013

Red Velvet Scones


Ingredients
  • 1 1/4 cup Red Velvet Cake Mix (I used Duncan Hines)
  • 1 1/4 cup flour 
  • 8 tablespoons cold butter
  • 1 cup skim milk
  • 8 oz. package of cream cheese, softened
  • 1/2 cup granulated sugar
  • 1 tsp vanilla
For the scones:
  1. Preheat the oven to 400°. Prepare a baking sheet lined with parchment paper.
  2. Mix together the cake mix and flour in a large bowl.
  3. Use a pastry cutter or two knives to cut in the cold butter until the mixture looks crumbly.
  4. Create a well in the center of the bowl and pour in the milk. 
  5. Use a wooden spoon to gently mix the milk into the rest of the mixture. Just like in making biscuits, try not to over mix. Only mix until the dough has just formed.
  6. Dust a small handful of flour over the dough in the ball, and with well floured hands, form the dough into a ball and remove it to the prepared baking sheet.
  7. Gently press the dough to flatten into a domed circle that is approximately 8 inches in diameter
  8. Use a greased knife to cut the circle into 8 wedges (easiest to make 4 long cuts across the diameter of the circle).
  9. Bake for 20-25 minutes until a toothpick inserted comes out clean.
Red Velvet goodness (the red was SO red)
For the cream cheese frosting:
  1. Beat together the cream cheese, granulated sugar, and vanilla until smooth.


These scones were absolutely delicious fresh out of the oven, or just as good the second day.
The cream cheese frosting added just the right amount of sweetness.

Thursday, February 7, 2013

Southern Red Velvet Cupcakes

These were delicious and a lot of fun to make, they didn't turn out as red as I hoped - I would recommend adding a little more red dye.

Ingredients for the CUPCAKES:
2 1/2 cups flour
1 1/2 cups sugar
3 Tbsp unsweetened cocoa powder
1 tsp baking soda
1 tsp salt
2 eggs
1 1/3 cups vegetable oil
3/4 cup buttermilk, room temperature
2 Tbsp red food coloring
1 Tbsp white distilled vinegar
1/2 Tbsp vanilla extract


  1. Preheat the oven to 350° F. 
  2. Line cupcake or muffin pan with liners
  3. In mixing bowl sift together the flour, sugar, baking soda, cocoa powder, and salt. 
  4. In another mixing bowl, stir together the eggs and oil.
  5. In a mixing cup, lightly whisk together the buttermilk, food coloring, vinegar and vanilla extract.
  6. Gradually add the dry ingredients and buttermilk mixture to the egg mixture, starting and ending with the dry ingredients. We are trying to achieve a dark red color.

Add the batter to the cupcake liners, until they are 3/4 full. 
Bake for 13-14 minutes.

Here are your yummy cupcakes!
Ingredients for the CREAM CHEESE FROSTING:
4 cups confectioners sugar
8 ounces cream cheese
1 cup (2 sticks) unsalted butter
1/2 tsp salt
4 tsp pure vanilla extract

Combine the sugar, cream cheese, butter, salt and vanilla in a large mixing bowl and blend for 2 minutes.

I frosted my cupcakes using a Wilton 1M tip.
The first photo shows a frosting technique where you push the frosting down and then lift up, in little "mountains" all over the cupcake; I garnished it with edible pearl sprinkles.
The second photo is just a swirl technique from the center of the cupcake to the edge.


Tuesday, February 5, 2013

Red Velvet Rice Krisy Treats

Before I begin, you will have to excuse the awkwardness of this post, it is my first blog post, EVER! Now,
since our theme this month is Red Velvet, I had to think of something delicious, and easy to make this
weekend. I had surgery on Friday and didn’t want to attempt to make anything complex! What's easier
than rice krispy treats?

I have to say I was quite excited for this recipe, but was sadly disappointed in the end. They do taste
delicious, but I can’t taste the Red velvet! I am on a mission after this to make them taste more like red
velvet, but here is the recipe I used.
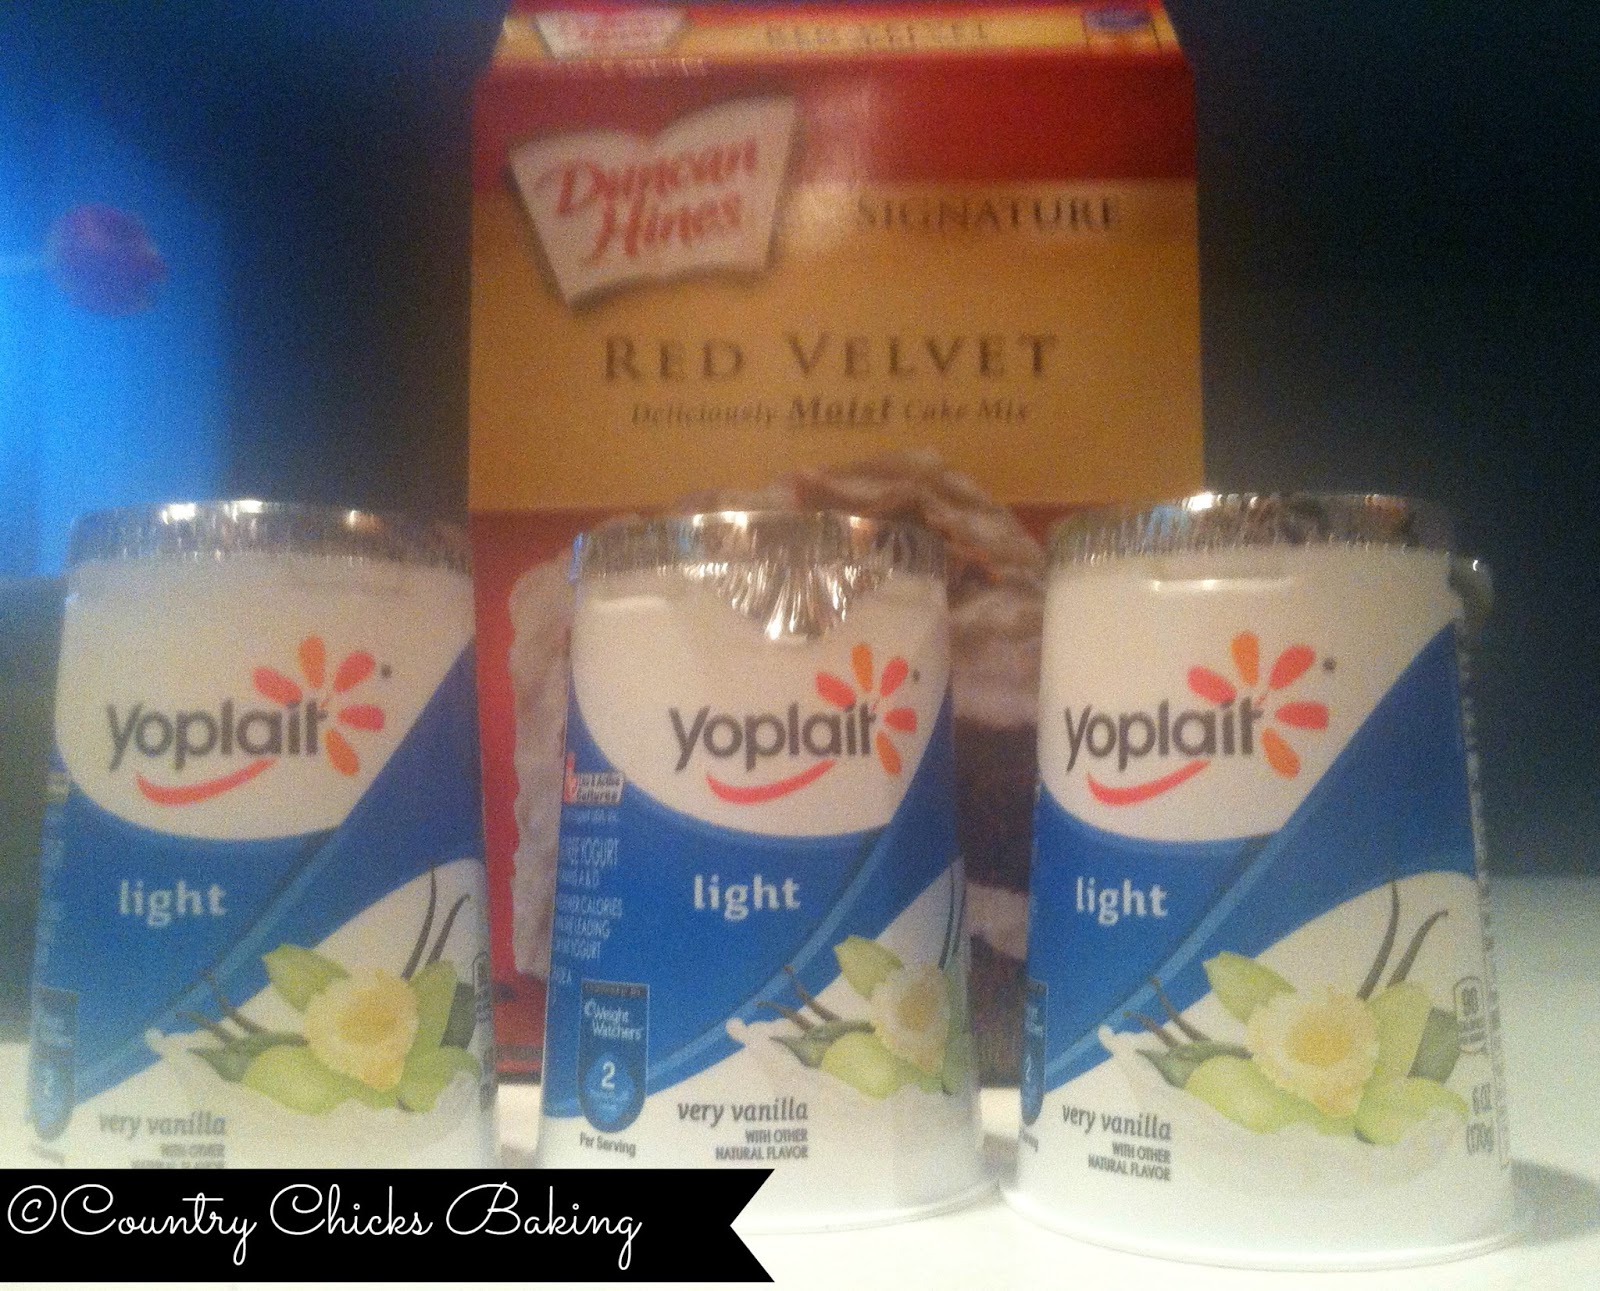
What you’ll need:
½ cup butter
1 (10.5 oz) bag of mini marshmallows
1 cup Red Velvet Cake mix (I used Duncan Hines)
8 cups Rice Krispies
½ cup white chocolate chips

1. First spray a 9x13 pan with non-stick spray
2. In a large sauce pan, melt the butter on medium/ low heat until melted
3. While butter is melting, measure the rice krispies into a bowl
4. Add the bag of marshmallows to the butter and stir until completely melted.
5. Add the cake mix until well blended
6. Once mixed, quickly add the marshmallow mixture to the rice Krispies and mix together. This
must be quick as the marshmallow mixture will start to harden quickly!
7. Quickly dump the mixture into the pan and flatten out, if your spatula sticks and makes it hard
to spread you can spray it with non-stick spray or lay a piece of parchment paper over the
mixture to flatten.
8. Allow to cool
9. I added white chocolate decorative designs to mine, just melt some white chocolate chips in the
microwave at 20 second intervals until melted (careful not to burn). You can spread it over the
whole pan or put the chocolate in a gallon Ziploc baggie and cut the tip off to draw designs on.
To add some more flair you can also use cookie cutters to crate fun shapes!

I have to say this recipe was very easy to make and turned out to be a flashy valentine’s day treat, but
am still disappointed with the flavor! I will update with new recipe if I can figure out a way to fix it! Hope
you enjoy!!


Friday, February 1, 2013

February: Theme of the Month


You will see at least 2 posts a week that have something to do with Red Velvet!
Stay tuned for awesome and not-so-awesome recipes, and check back often!
 
Blog Template by Delicious Design Studio